Our customers #
-
Skrevet af Caspar Ejsing
How do I create a customer? #
1. from Shop Manager access “Actor Library” -> “Customers”.
2. Press the blue button with the plus symbol at the top.
3. Choose between “Customer Person” and “Customer Organization”.
4. Fill in the fields.
5. Tap on “Save”.
Customers can also be created directly from the POS-module by clicking “More” and then selecting “Create Organization” or “Create Person”.
Description of fields #
Customer number
Fill in the number that the customer should have in Sapera. If the field is left blank, Sapera will enter a number for the customer. The customer number is unique to the customer.
Customer category
Here you can assign the customer to a customer category. Customer data such as VAT code, currency, standard price type etc. that should apply to the customer can be set up at category level. These categories can also be used to set up discounts, for example, so a specific customer category can receive a discount simply by being in that customer category.
Address
Fill in the address of the customer here.
Phone number
Here you enter the phone number of the customer.
Preferred communication type
Specify how the customer would prefer to be contacted. This will typically be email or phone. If you specify a preferred communication type, the “Is consent received” box must be checked, as Sapera is not allowed to send messages to the customer without consent.
COMPANY REGISTRATION NUMBER
Fill in the CVR number of the company here. Please note that the CVR field is only available when creating business customers. The CVR number in Sapera is used for sending electronic invoices (EAN), among other things.
Remarks
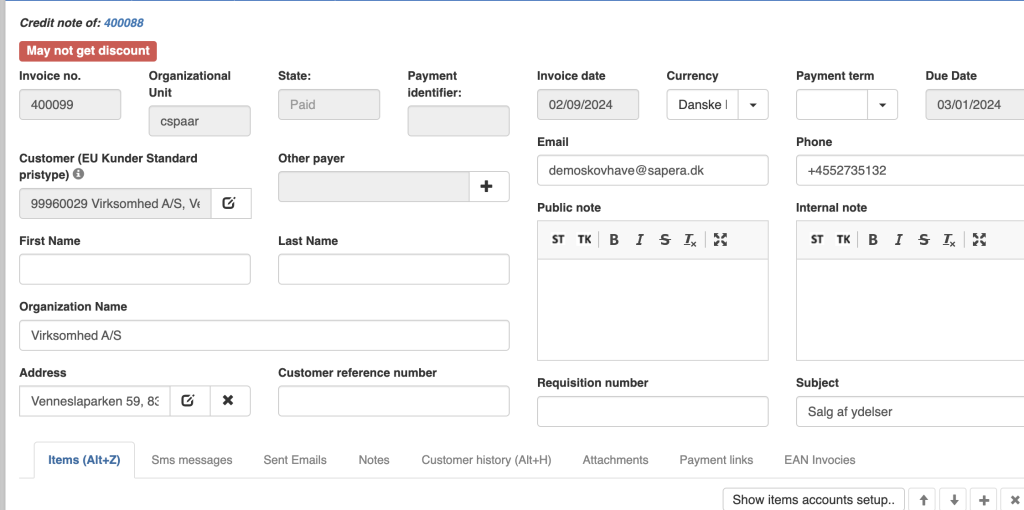
When specifying a remark, a red field with the remark will appear wherever the customer is used in Sapera, such as invoices and sales orders.
In this case, we have set the remark “Do not get discount” on the customer “Virksomhed A/S”.

How do I deactivate a customer? #
1. from Shop Manager access “Actor Library” -> “Customers”.
2. Select the customer you want to deactivate. (The line where the customer is standing will be marked with a light blue color)
3. Tap the “Disable” button at the top of the customer grid.
If you regret deactivating the customer, you can select the customer again and press the “Activate” button at the top.
Activate & deactivate
Activate and deactivate is used if you have multiple actor sharing levels, for example in chains. This means that the same customer can be visible (Active) in one organizational unit (store) and hidden (deactivated) in another organizational unit.
Archive & Remove archiving
Archiving applies to all organizational units (all stores/departments). So the customer is archived globally across all your organizational units.
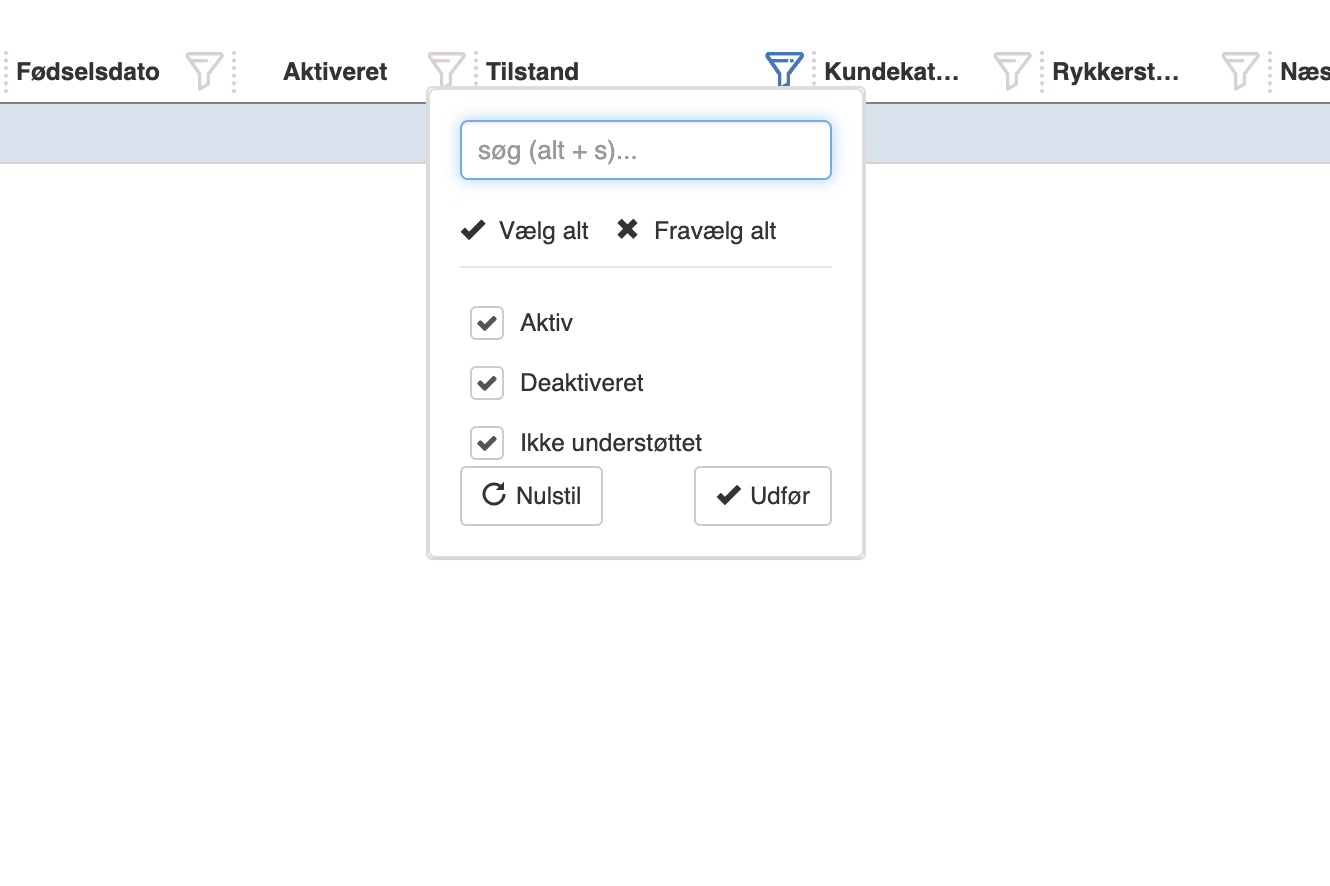
You can unarchive by selecting the customer and pressing the “Unarchive” button at the top. To see the archived customers, use the filter on the “Archived” column and check the “Deactivated” box.


