Once you have created a vendor under the "Vendors" tab, you have the option to override choices from the vendor category on the newly created vendor. This can be done by double-clicking the desired vendor.
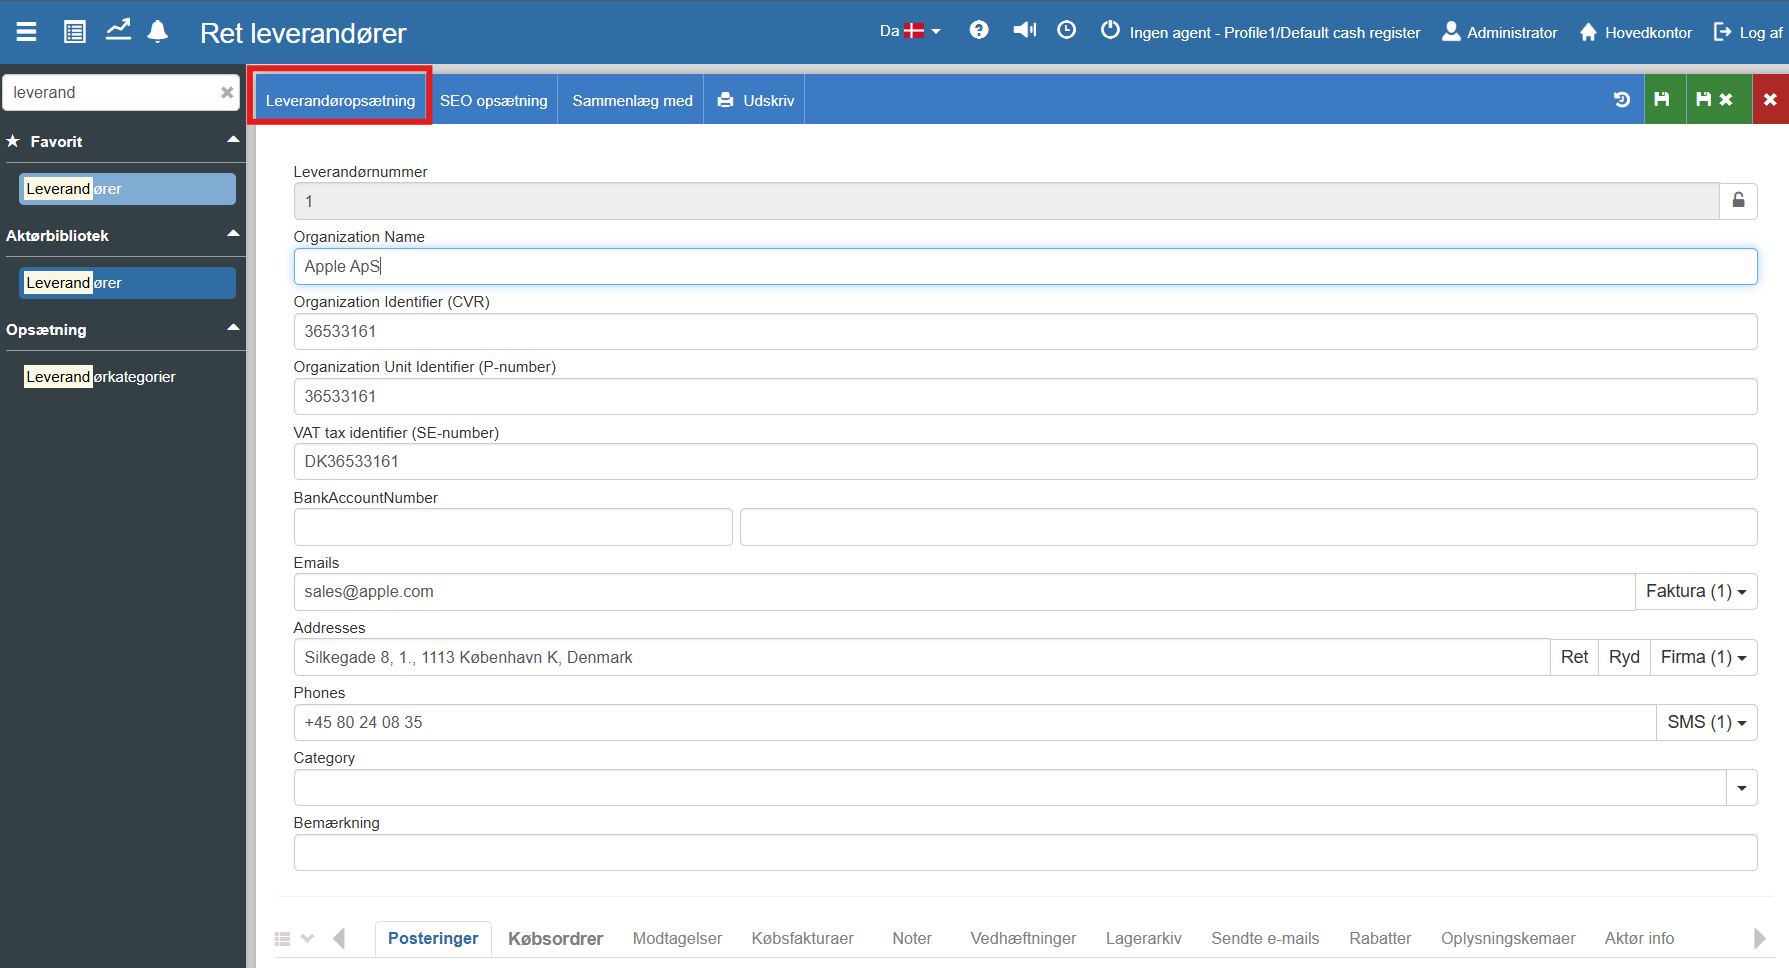
You are now on the "Edit Vendors" tab. Click "Vendor setup" in the top left:
The following menu will now open, where you have the option to change the vendor setup for the selected vendor:
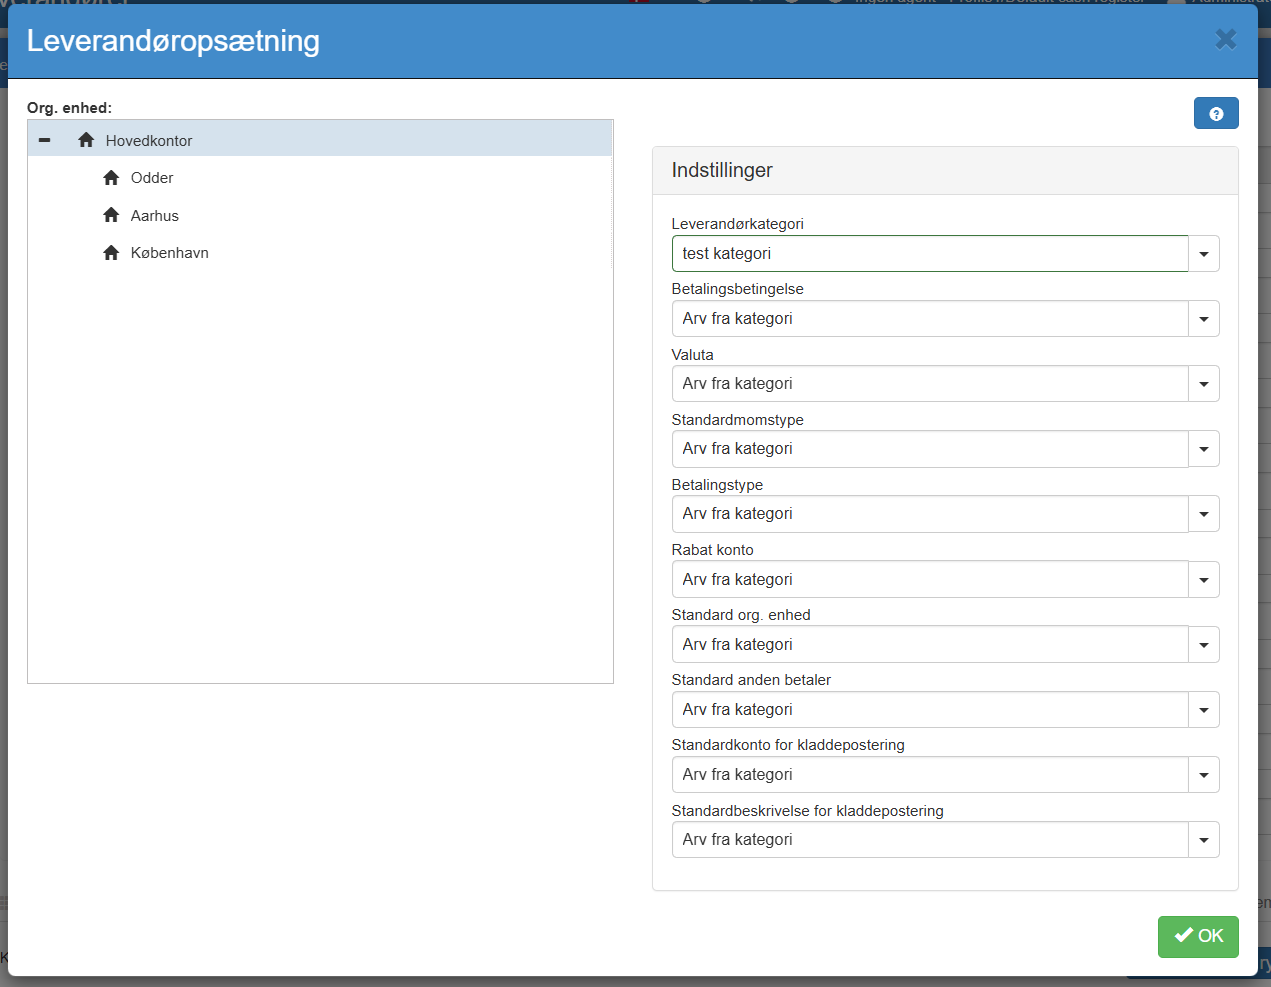
Make the desired changes and finish with "OK".
The fields that can be overridden correspond to the fields on the vendor category.
Read more at vendor categories.
Want to know more?
Read more in these related articles:
Creating a vendor
In this guide we will explain how to create a vendor in Sapera.
Vendors
How to use the vendor register and vendor card in Sapera: list view with filters and actions, create and edit vendors, all tabs on the card (Entries, Purchase orders, Receipts, Purchase invoices, Stock archive, Notes, Attachments, Discounts, Sent emails, Actor info) as well as Vendor setup and SEO setup.
Accounting - Creating a vendor category
This article explains how to create and configure vendor categories in Sapera
