You can adjust the Pos configuration so it fits the specific store. In addition, you can create different Pos layouts for different organizational units, that is, for different stores with different needs.
Note:
For the Pos layout to be shown on the transaction page, a setting must be enabled. Go to Settings -> Point of Sales -> POS UI Settings, and enable "Enable Touch UI".
As mentioned earlier, you can change the Pos layout for the individual organizational unit (departments). You can select the specific department by clicking it on the left side (see image).
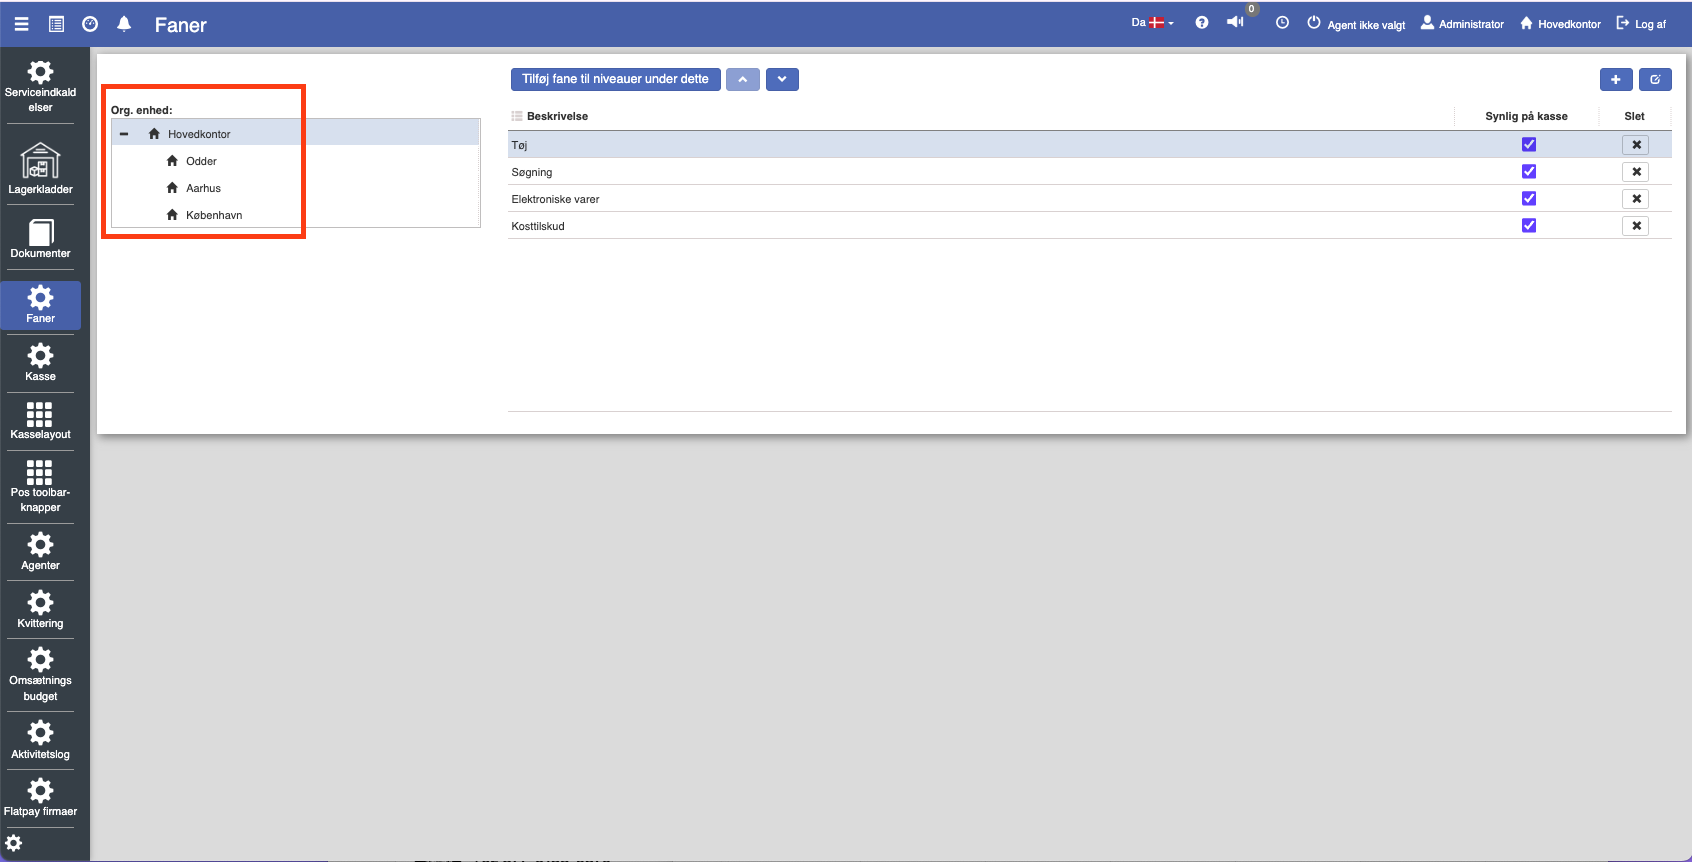
Once you have selected the organizational unit, you can configure it by clicking the blue "Edit" button.
You can choose whether the keypad should be enabled or not. To do this, check or uncheck "Is numeric keypad visible".
You can choose whether the keypad should be enabled or not. To do this, check or uncheck "Is numeric keypad visible".
You can add a new button to the Pos layout by clicking an empty field. You can also change existing buttons by clicking them.
To remove a button, click "Remove button".
The different fields for buttons:
Heading: Here you can write the heading for the individual button.
Type: Here you can determine the button's function.
Color: Here you can determine the button's color.
Text color: In this column you can determine the text's color.
Expand row: Here you can expand the row's horizontal width.
Expand column: URL (Uniform Resource Locator) is used to describe the address of a specific resource on the internet, e.g. a website.
There are different functions you can assign to buttons:
Complete sale: Completes the sale of the current transaction.
Quantity: Change the quantity of the current item.
Use cost price as sales price: Use the item's cost price as the sales price.
Pay: Completes the sale of the current transaction.
Use loyalty points: Here the current customer can use their loyalty points, if they have any.
CM/MP overview: Shows the CM/MP overview.
Undo: Cancels the sale.
Foreign payment currency: Can be used if the customer.
Retrieve: Retrieves previously parked transactions or saved sale drafts.
Retrieve sales order: Retrieves the sales order.
Non-integrated payment
Cash payment: Cash payment.
Card payment: Card payment.
Customer payment: Registers a payment from the customer that is not necessarily linked to a specific sale.
Customer account payment: The customer can pay into their account.
Line discount: Gives a discount for a specific item.
MobilePay payment: MobilePay payment.
New transaction: Start a new transaction (sale).
Create customer (company): Create a business customer.
Create customer (person): Create a private customer.
Create/print sale exchange tags: Print an exchange tag for the sale.
Create/print sale line exchange tag(s): Print an exchange tag for a specific line
Transfer to invoice: Transfers the sale to an invoice.
Transfer to sales order: Transfer the sale to a sales order.
Park: Park a sale.
Discounts: Brings up your different discounts.
Reserve: Reserve one/several product(s)
Return line: Returns a specific line.
Return of sale: Returns a sale
Total price: Shows or adjusts the total price for the entire sale.
Total discount (%): Gives a discount in the form of a specific percentage.
Total discount (amount): Gives a discount in the form of a specific amount.
Expense: Registers an expense, e.g. an internal withdrawal from the cash register (used in some register types).
Loan: Used to register the loan of items (e.g. for testing or short-term use).
Print latest sale Prints the receipt for the latest sale.
Vipps E-payment: Vipps E-payment.
Show budget overview: Shows the customer's budget overview or internal sales budget information.
Show product tab: You can link a specific tab to this particular button.
Select customer: Select a customer.
Open cash drawer: Opens the cash drawer
Want to know more?
Read more in these related articles:
Login security
Get an overview of login attempts, control which IP addresses may log in, and choose which login security method your store should use.
Login and access
How to log in to Sapera.
