Start by opening “Financial” in the menu in the top left corner.
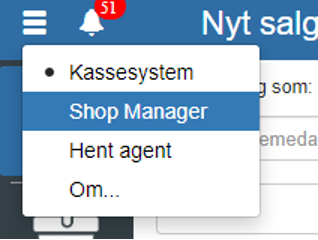
Then click “Product” and select “Products”
You can also search for “Products” by clicking the search field in the top left corner.
NOTE: if you cannot find “Products”, it is because you do not have permissions for it. In that case you can contact support to gain access.
Click “Print”
Tick “Turnover”
If there are any criteria for the turnover report, they must now be filled in. For example, if no from- and to-date are entered, the turnover report will apply to the entire period you have had Sapera.
The turnover report can be broken down by the following:
Product
Supplier
Employee
Category
Location
The turnover report can be sorted by the following:
Most sold in DKK
Least sold in DKK
Most sold in quantity
Least sold in quantity
Highest contribution margin (CM)
If the turnover report is to be printed, click “Print”. If it is to be exported as a PDF document, click “Adobe PDF”. If you want it exported as an Excel sheet, click “Microsoft Excel”. If you want it sent as an email, click “Email” - Note that an agent must be selected.
If you want several different turnover reports, tick “Keep open”
Want to know more?
Read more in these related articles:
Turnover detailed
Detailed turnover printout per item for a selected date range, with sales figures, turnover, contribution margin and contribution ratio.
Sales hit list
This article explains how to create a sales hit list printout in Sapera
Accounting - Uploading accounting vouchers
This article explains how to attach accounting vouchers to entries in the Chart of accounts
