Log on to remote desktop with this IP address: 10.51.64.51
NOTE: account credentials are personal and must therefore be created at MB-Solutions
Then go to the F:\ drive named SQL data.
The reports are located at this path: F:\Git\cr_support\Reports (Git → cr_support → Reports)
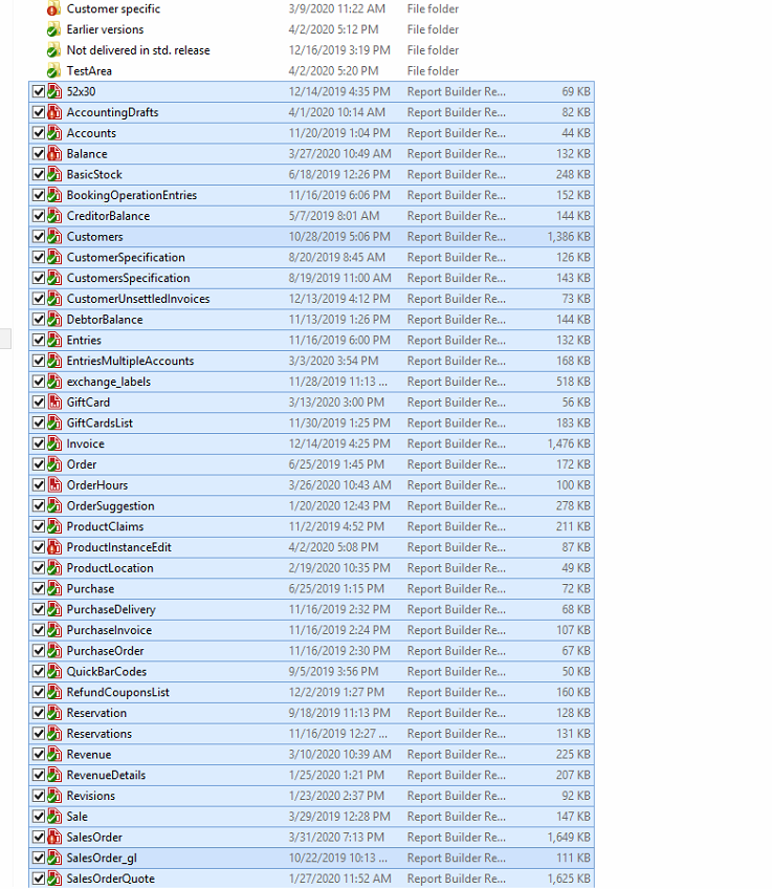
The reports located in the root are standard reports (see the highlighted ones):
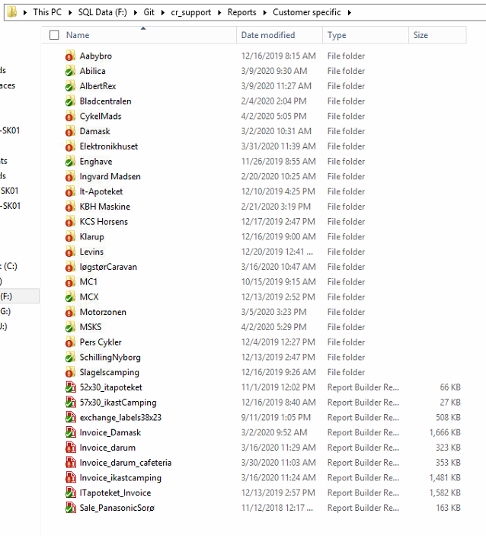
Inside “customer specific” you will find all the customer reports (F:\Git\cr_support\Reports\Customer specific)
In this example we will edit the invoice layout for Elektronikhuset.
To find out what the current file name of the invoice layout is, we need to look in Sapera:
Open Chrome
It is important to log in with the admin user
Select “Reports” in the burger menu
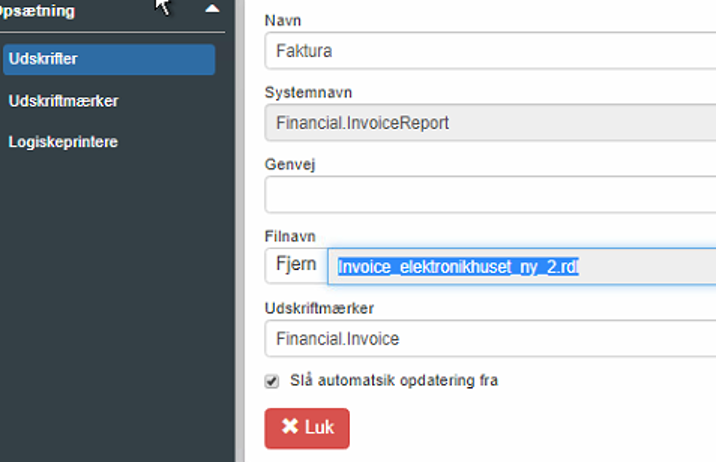
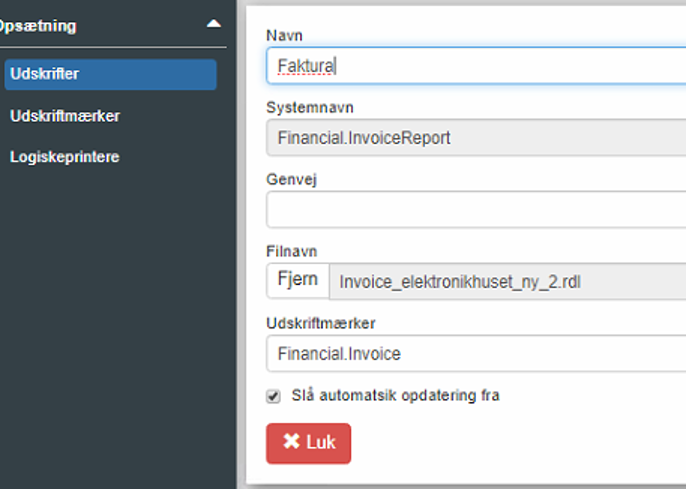
The column on the right shows print tags. If you, for example, want to change the invoice, click “Edit” on “Financial.Invoice” and note the file name.
Now that we know the file name, we return to the customer folder and double-click this file name. This opens ReportBuilder, and you are ready to edit the relevant report.
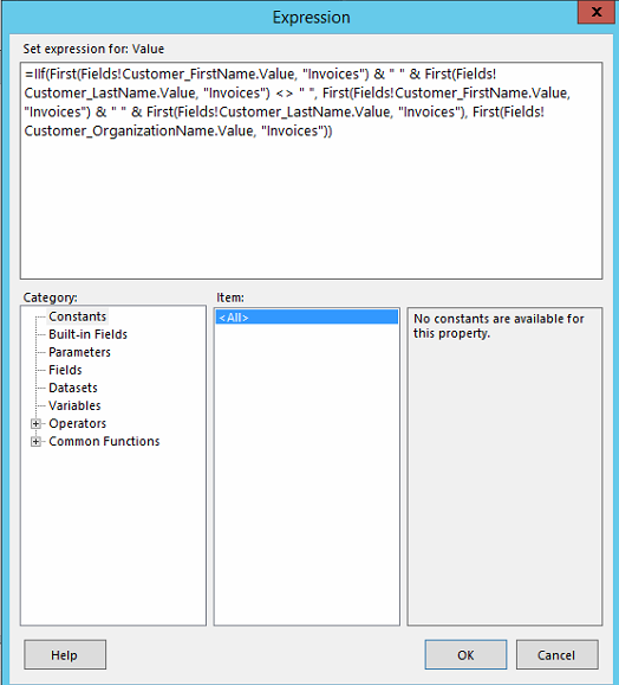
There are fields for a lot of data in all reports - so-called expressions («Expr»).
These are used to fetch data from the databases and add it to the report.
To see what the individual expressions do, double-click one, then click the “fx” button next to the “Value” drop-down menu:

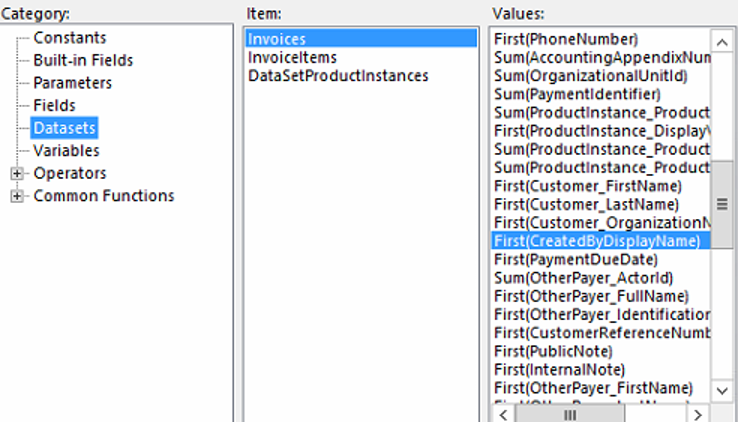
If you want to change or add an expression, click “Datesets”:
Click “OK” to save the change and “OK” to return to the report.
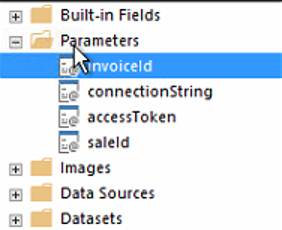
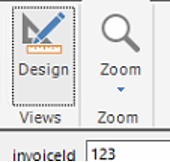
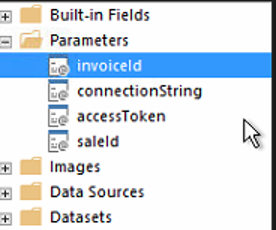
To see the changes you have made, go up and open the “Parameters” folder on the left side and double-click “invoiceId”, “salesOrderId” or similar.
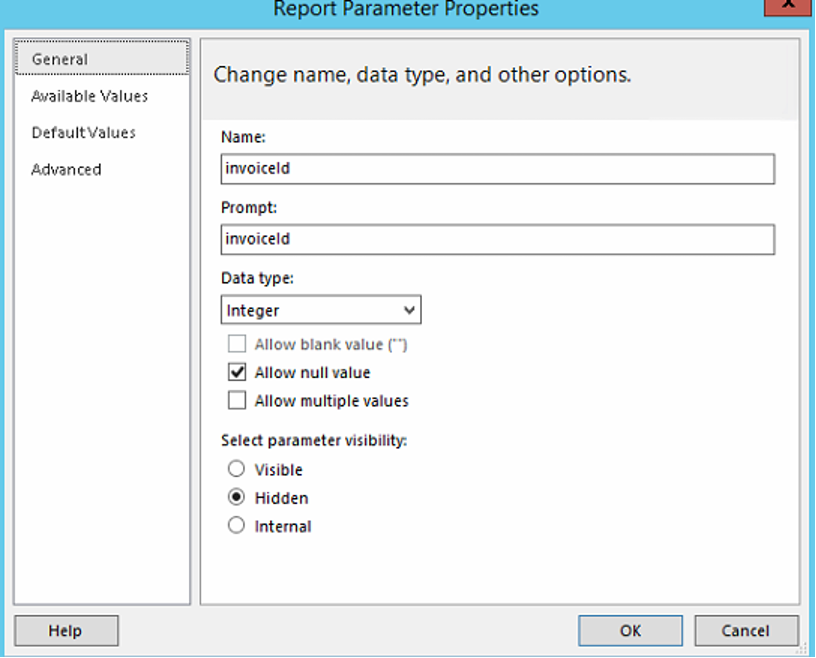
Then tick the “Visible” box and click “OK”

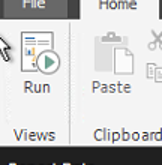
Then click “Run”
Enter the SQL user name and password (See F:\Sapera\DBO Adgang)
To see an invoice layout, enter an invoice number at invoiceId:

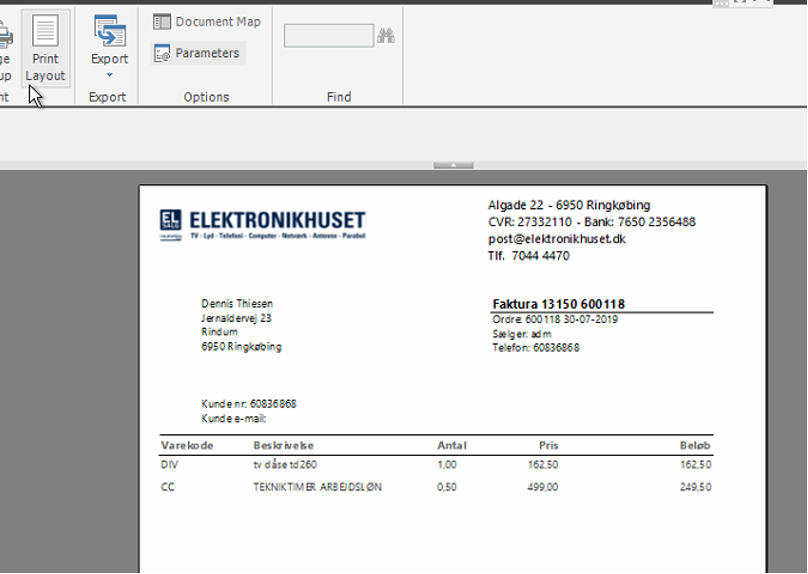
To view the report in, for example, Adobe Acrobat - click “Print Layout”
When you are done making changes, REMEMBER to set “Visibility” to “Hidden”:
Click “Design” to return to the report:
Click “invoiceId”
Select “Hidden” and click “OK”
Click save
NOTE: uploading the customized report is necessary (even if it has the same file name)
Open Chrome
Log on to Sapera (Elektronikhuset in this case) (Use admin login)
Open “Reports” and “Printouts”. Select the desired one and click “Edit”
Click “Remove” and then select the file that has been edited, and click “Save”
The new report is now ready.
Want to know more?
Read more in these related articles:
Print dialog
This article reviews the functions and options of the print dialog in Sapera
Report settings
Settings for how reports are delivered and opened in Sapera, as well as automatic filling of department parameters.
Print tags
Create and edit print tags with associated print preferences per organizational unit.
