The following value has been obtained from the CRS Azure portal.
[Application (Client) Id]
Important, the current values are:
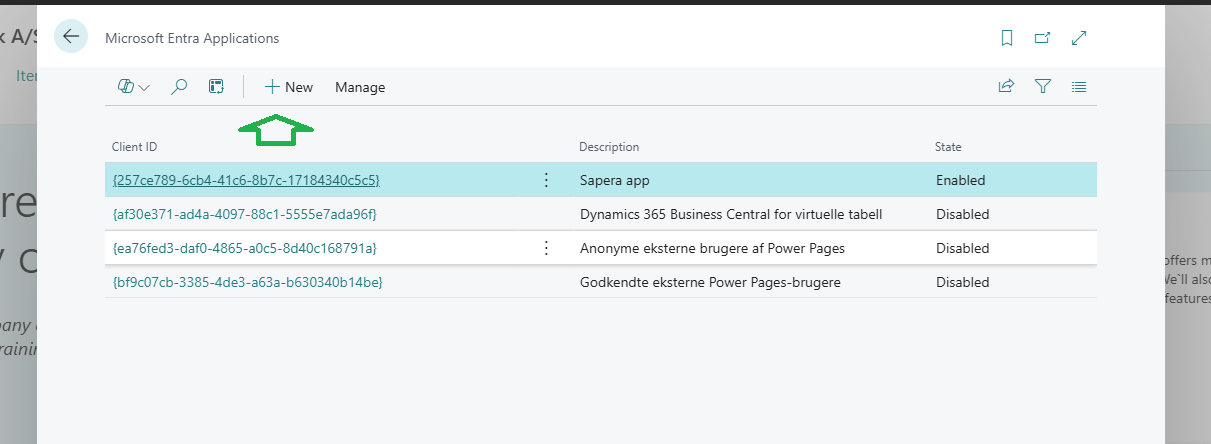
[Application (Client) Id]: 257ce789-6cb4-41c6-8b7c-17184340c5c5
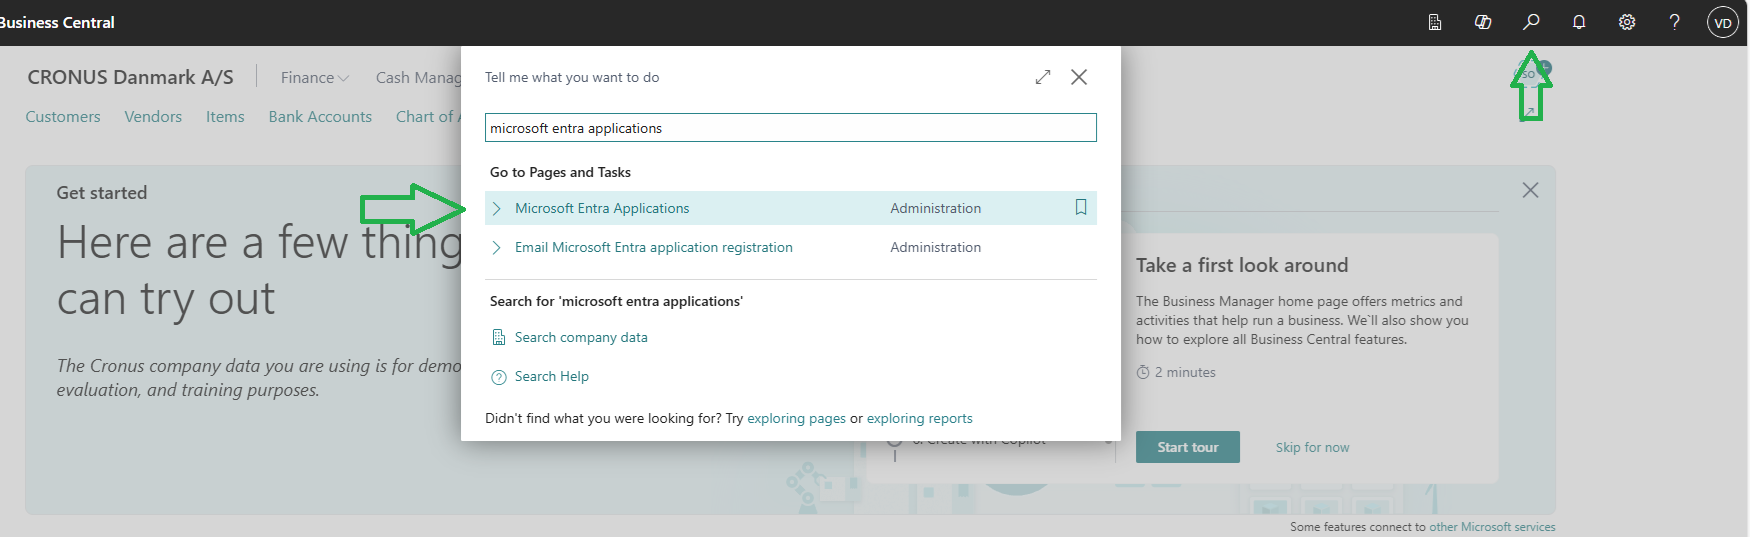
In Microsoft Business Central, [Microsoft Entra Applications] must be found, and the list opened.
In the Microsoft Entra Applications list, click “New”.
In the open screen [Microsoft Entra Application Card]:
Enter the [Application (Client) Id] in the Client ID field.
Add the permission set [D365 INTERCOMPANY CE] under [User Permission Sets].
Click [Grant Consent].
Note: At this point, it is possible that the user's permissions are not sufficient. It may therefore be necessary to elevate permissions via a user with higher permissions.

In the Microsoft Business Central UI:
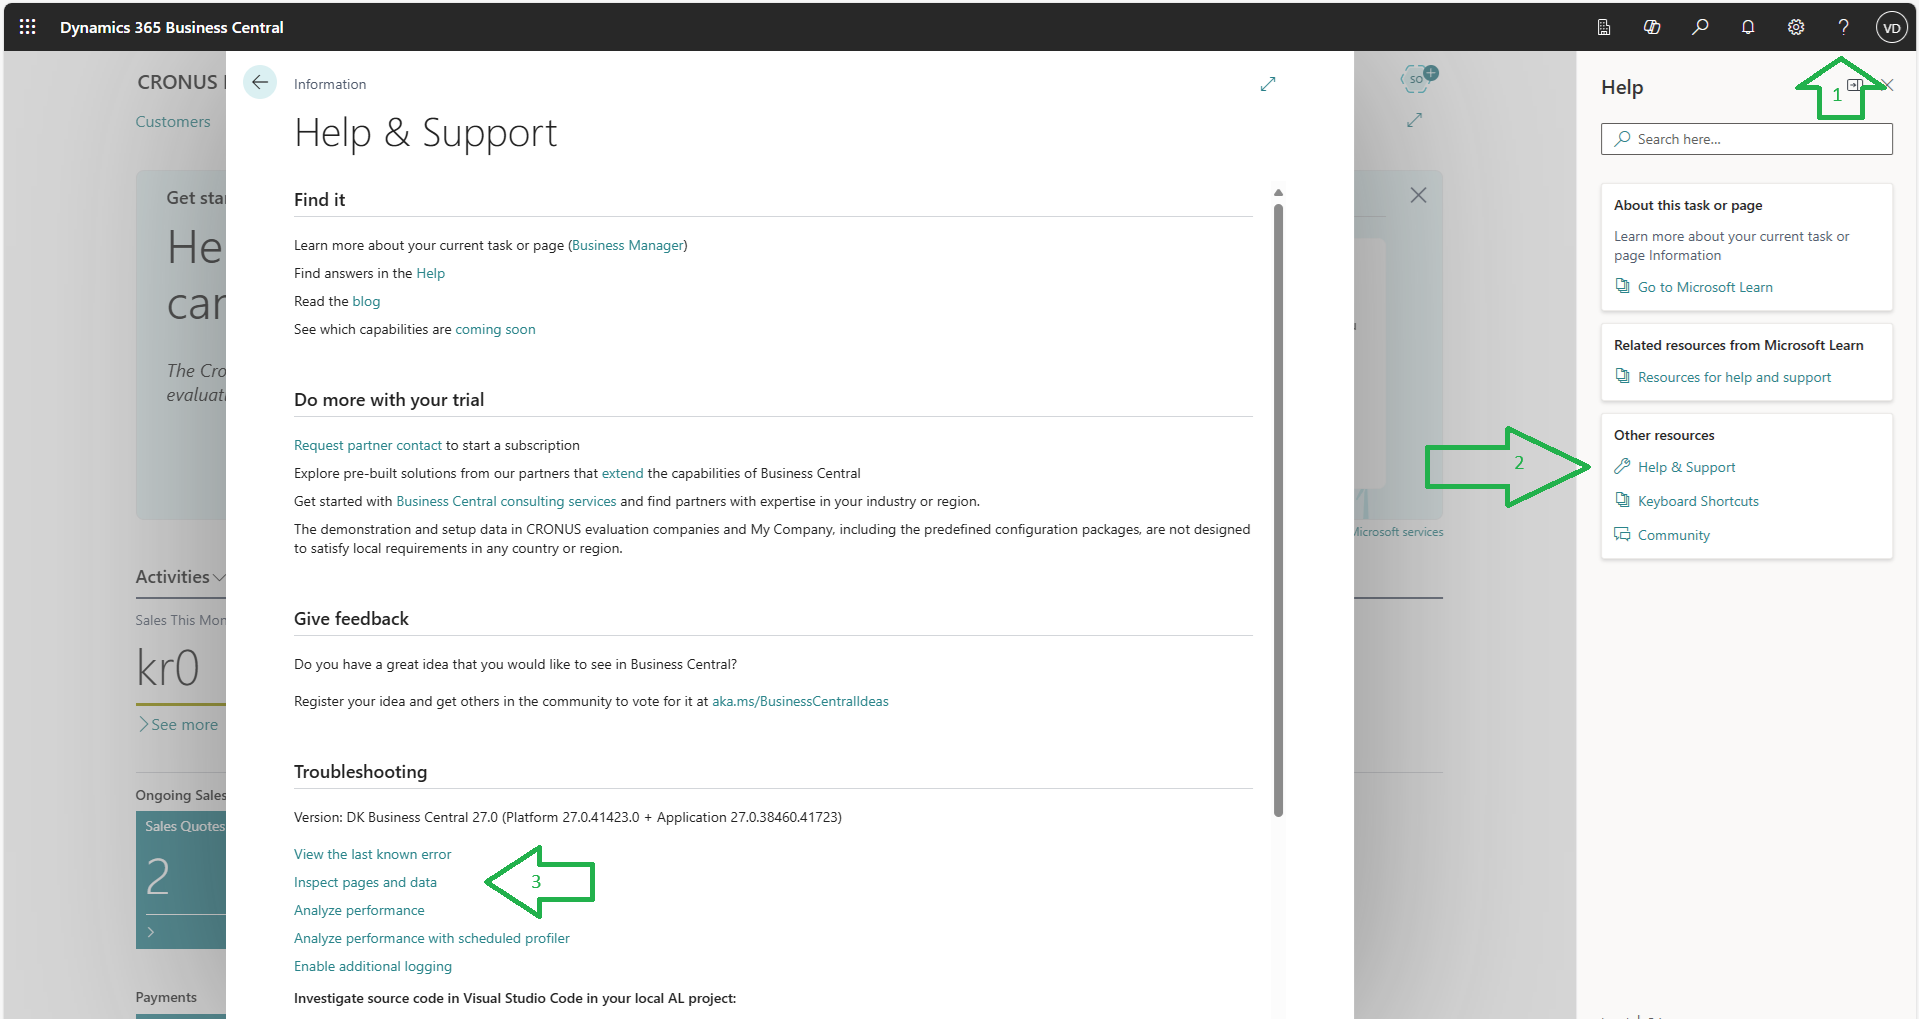
Make the [Page inspection] sidebar visible:
Click the [?] icon in the top right corner.
In the open panel, click [Help & Support].
In the open window, click the link [Inspect pages and data].
While the [Page inspection] sidebar is visible, open the [Companies] list.
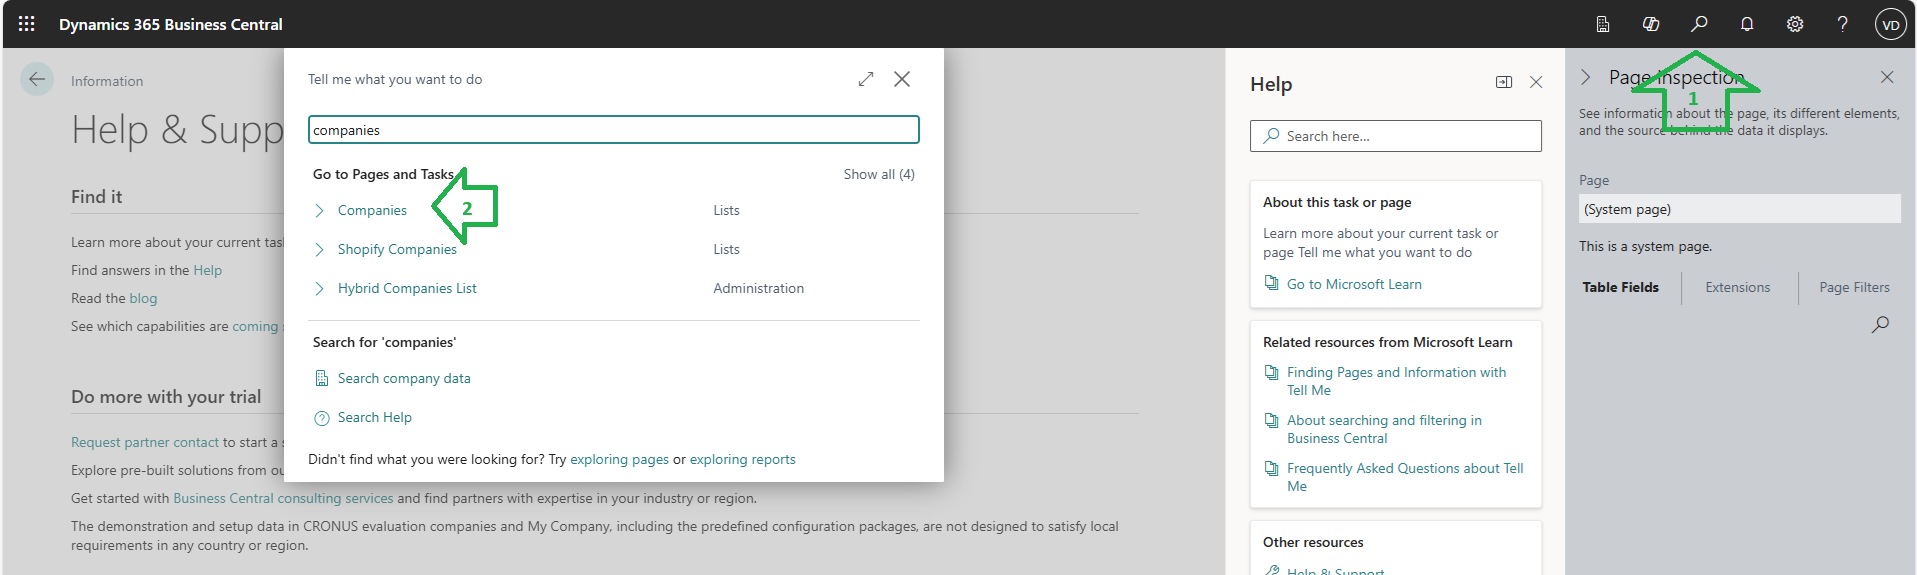
Click the [Search] icon.
Enter [Companies] in the search field and select the [Companies] link that appears.
Find and copy the [Company Id] for the relevant company:
Select the desired company in the grid view.
In the [Page Inspection] panel, find the field [Id (8000, GUID)]; double-click the field and copy the value.

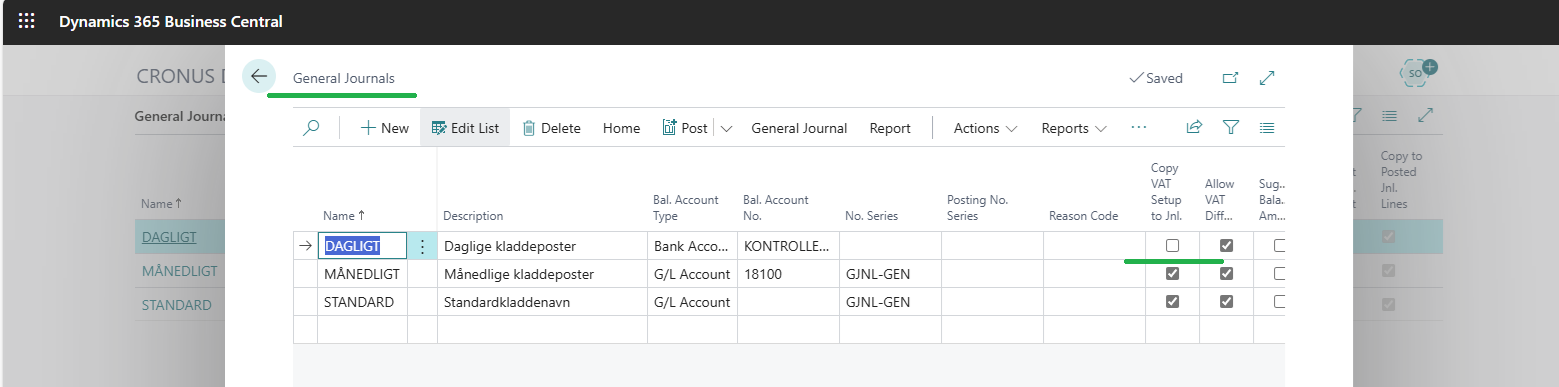
For the journals to which finance entries are to be exported from Sapera, the following must be fulfilled:
Make sure the [Copy VAT Setup to Jnl. Lines] checkbox is not selected.
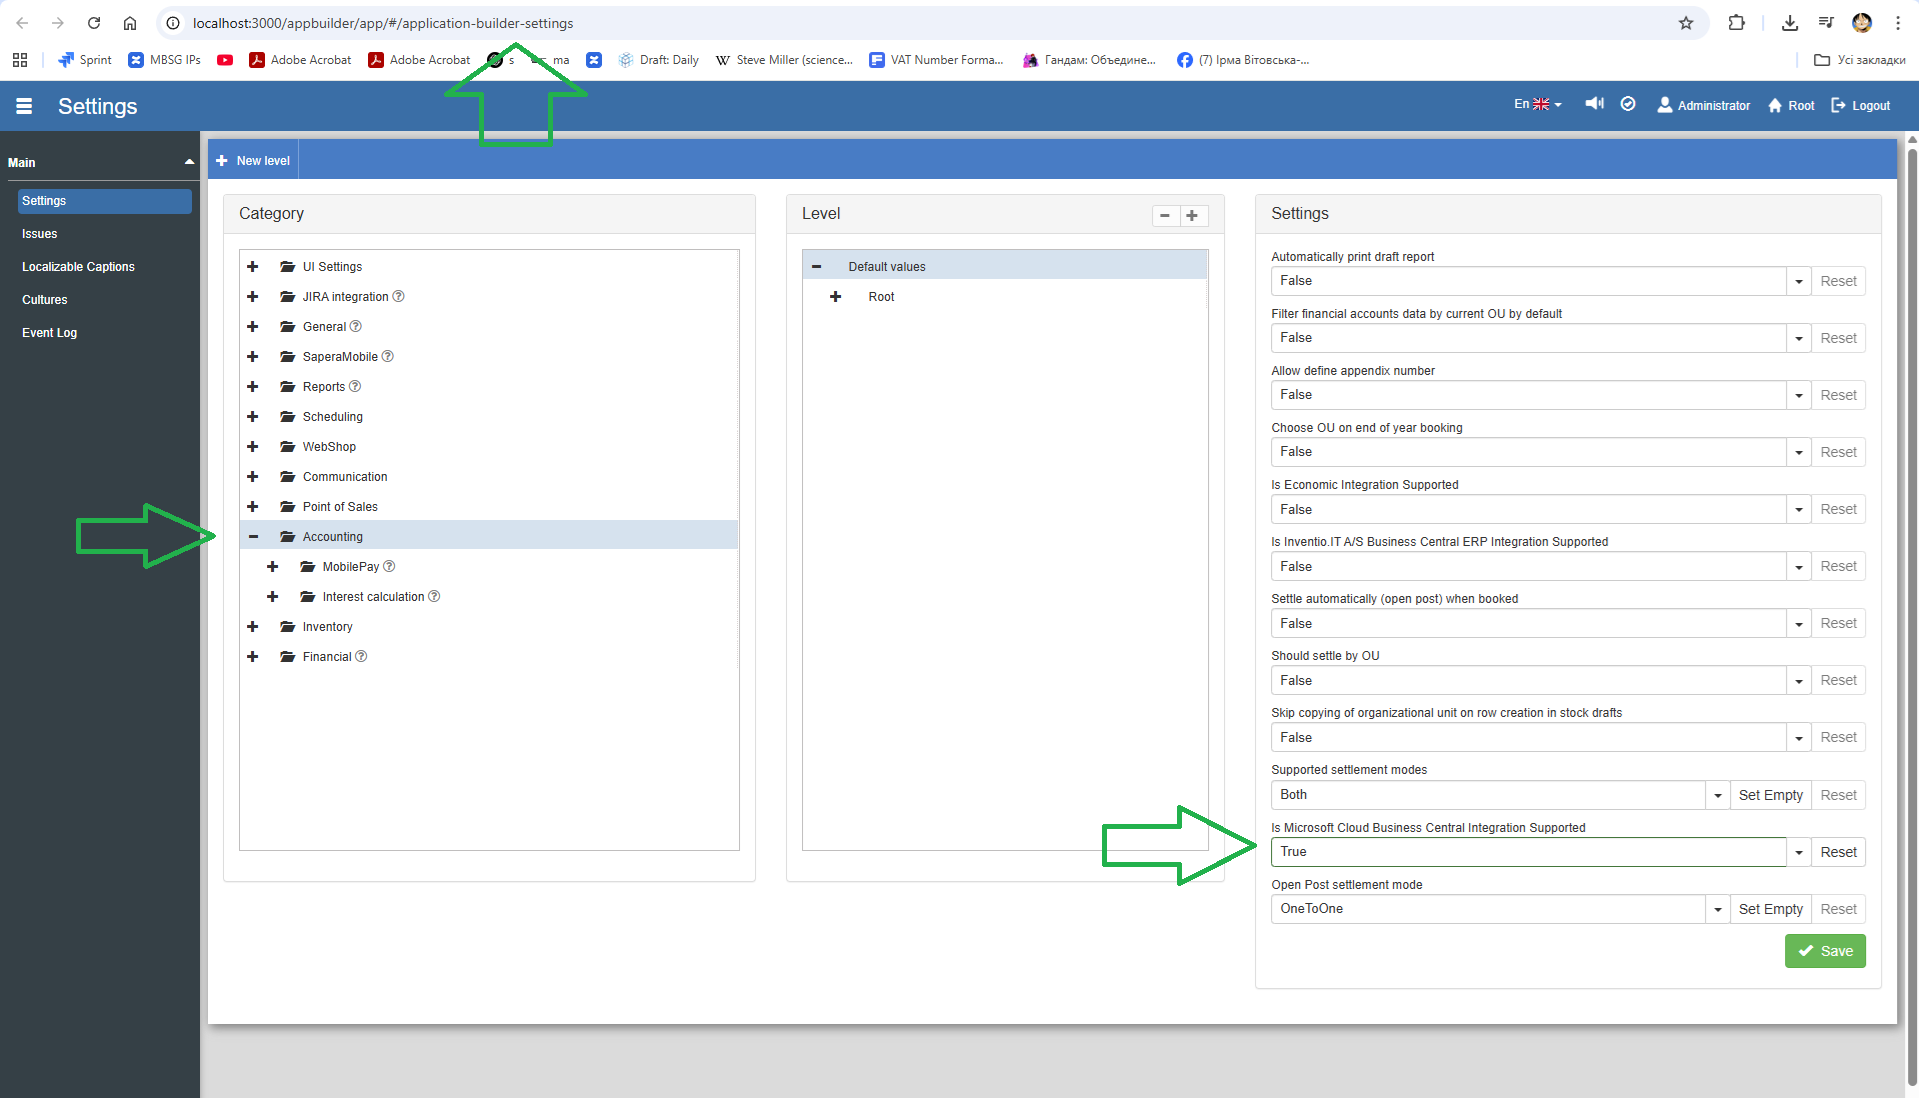
Go to "Setup" → "Settings" → "Accounting" and turn on the setting "Is Microsoft Cloud Business Central Integration Supported" (Yes):
Go to [Financial] ⇒ [Accounting Metadata Records]:
Open the [Accounting metadata records] list.
Open the relevant metadata record for editing.
Select the checkbox [Is Business Central Microsoft Cloud Integration Supported].
Enter the [Business Central Company Id] in the [Company ID] field.
Set up the [Draft to BC Microsoft Cloud Journal map].
(Optional) Click the [Validate] button to see any validation errors.
Save the changes.

Want to know more?
Read more in these related articles:
Accounting/Integration
Under Accounting/Integration you create and name the company's accounts and link them to organizational units. Here you also enable integration with external accounting systems such as e-conomic, Inventio.IT A/S Business Central and Microsoft Cloud Business Central, and configure the necessary connection settings per account.
How-to: Turn on E-conomic integration
How-to: Turn on E-conomic integration
Flatpay integration
Flatpay integration
