To start a sale, items must be registered in the transaction window. This is done in one of the following ways:
Scanning: Scan the item's barcode with the connected handheld scanner.
Search: Enter the item number or name in the search field at the top with the text "Start typing the item's name or scan it...".
Manual selection: Click the desired item directly in the product overview (e.g. under the "Clothing" tab).
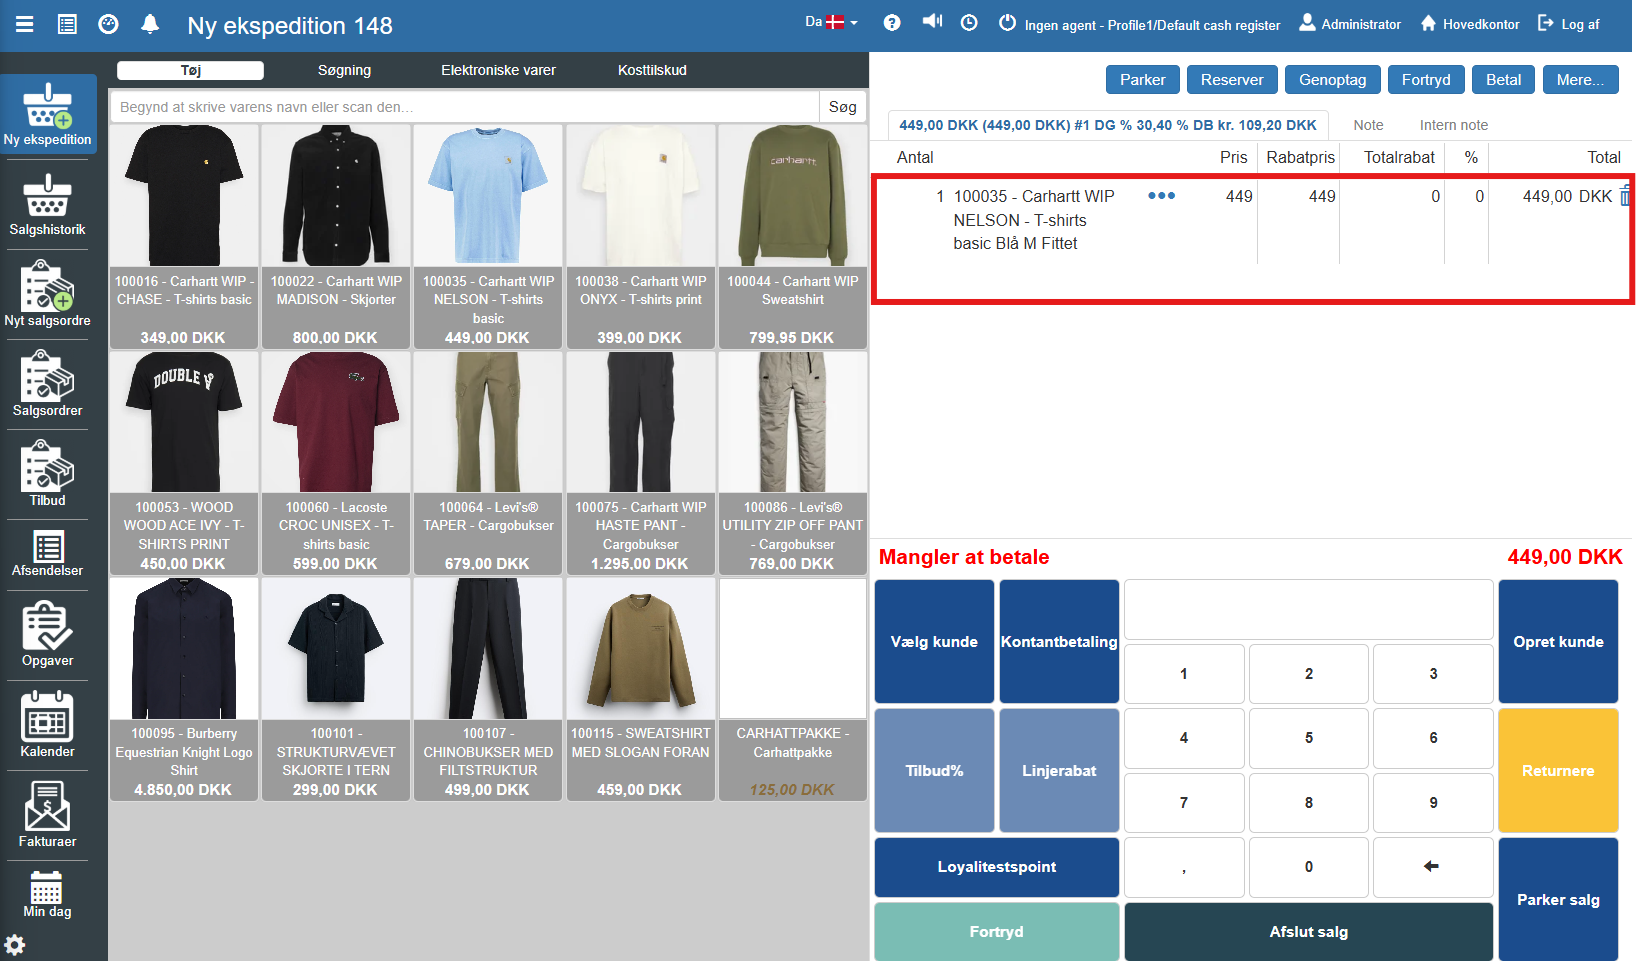
When an item is selected, it is automatically added to the list under the "Sale" tab on the right side of the screen.
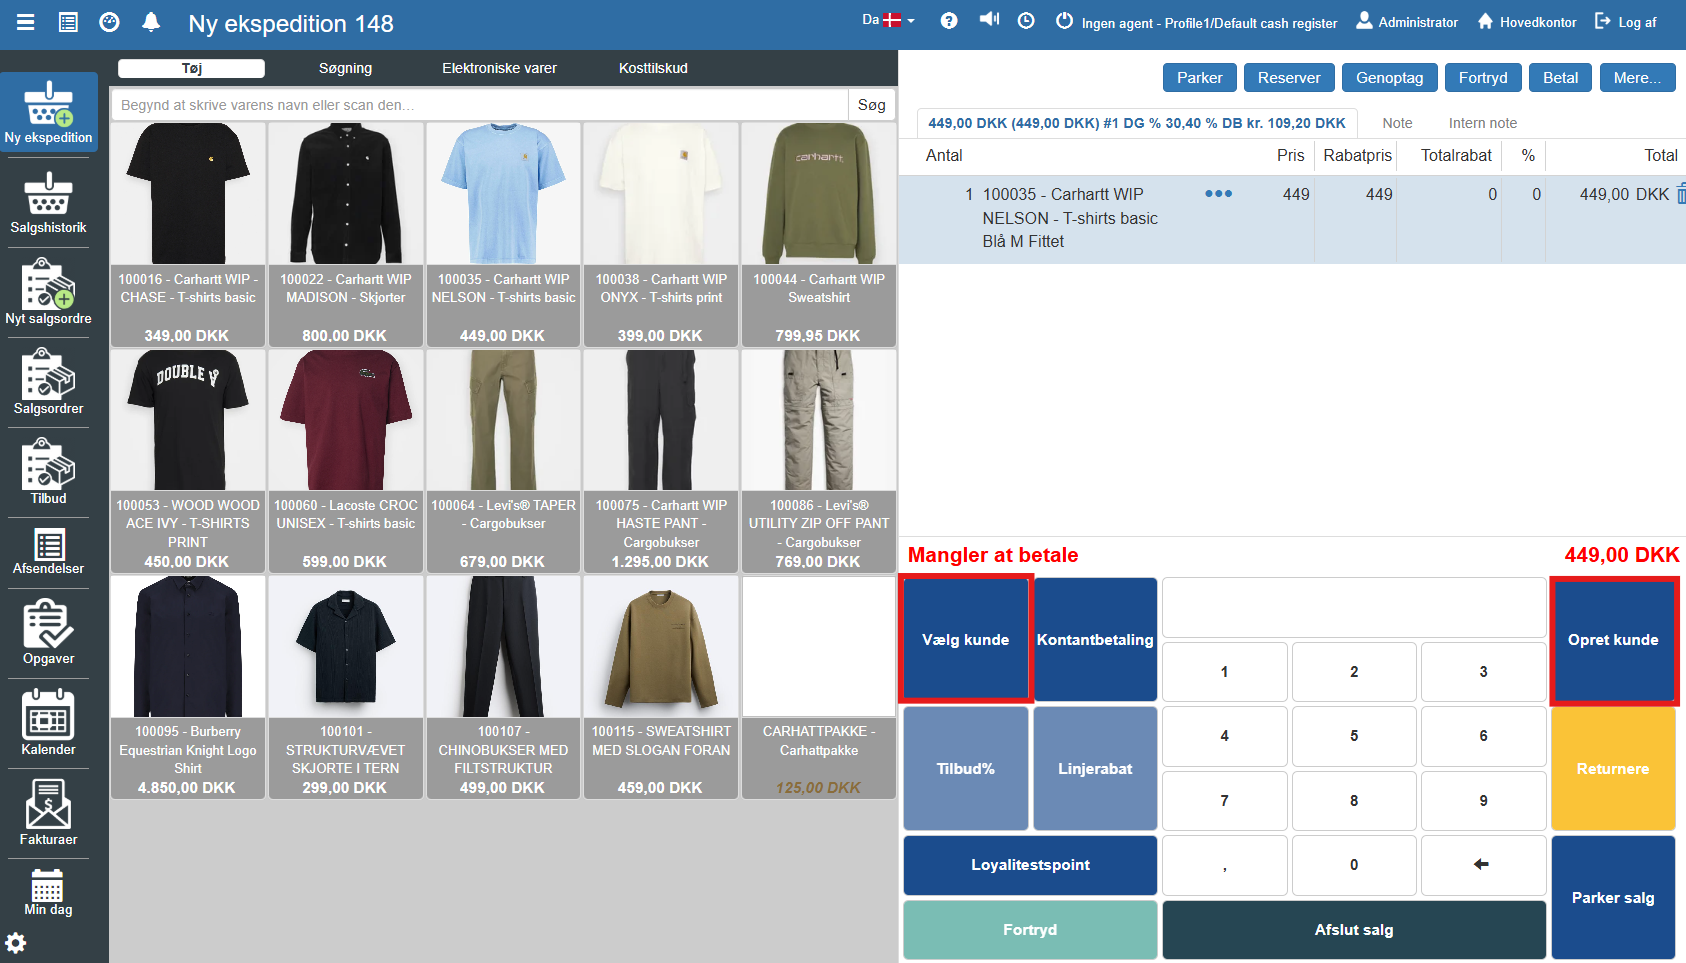
If the sale is to be registered on a specific customer, use the button Select customer in the blue function panel. If the customer is not created in the system, this can be done via the button Create customer.
When all items have been registered, the transaction is completed via the payment panel in the bottom right:
Cash: Click Cash payment for direct settlement with cash.
Card/Standard: Click Complete sale to initiate payment via the primary payment method (typically an integrated payment terminal).
Other payment methods: Select the button Pay in the top menu bar to access a menu of alternative payment types.
After the payment is completed you will need to confirm finalizing the sale. The POS will then reset and be ready for the next transaction.

The customer balance shown when you select a customer in a sale now includes deposits, settlements on the debtor account, and amounts from related invoices on sales that are completed but not yet settled.
Want to know more?
Read more in these related articles:
Overview of the POS screen
In this article we walk through the layout of the POS screen (the POS interface) in Sapera. The purpose is to give you a quick overview of the various functions and buttons you encounter when completing a sale.
New transaction
Here is how you start a new transaction in the POS by selecting a cashier and beginning the sale.
Returning a sale
This article describes the procedure for manually returning items using the return function in the POS.
