A customer category makes it possible to group your customers, so you avoid entering the same settings manually for each individual customer. By linking a customer to a specific category, the customer automatically inherits default settings such as VAT code, currency and default price type.
Categories are also extremely useful for setting up specific customer discounts, as you can create a rule set where a specific customer category automatically receives a discount on their purchases.
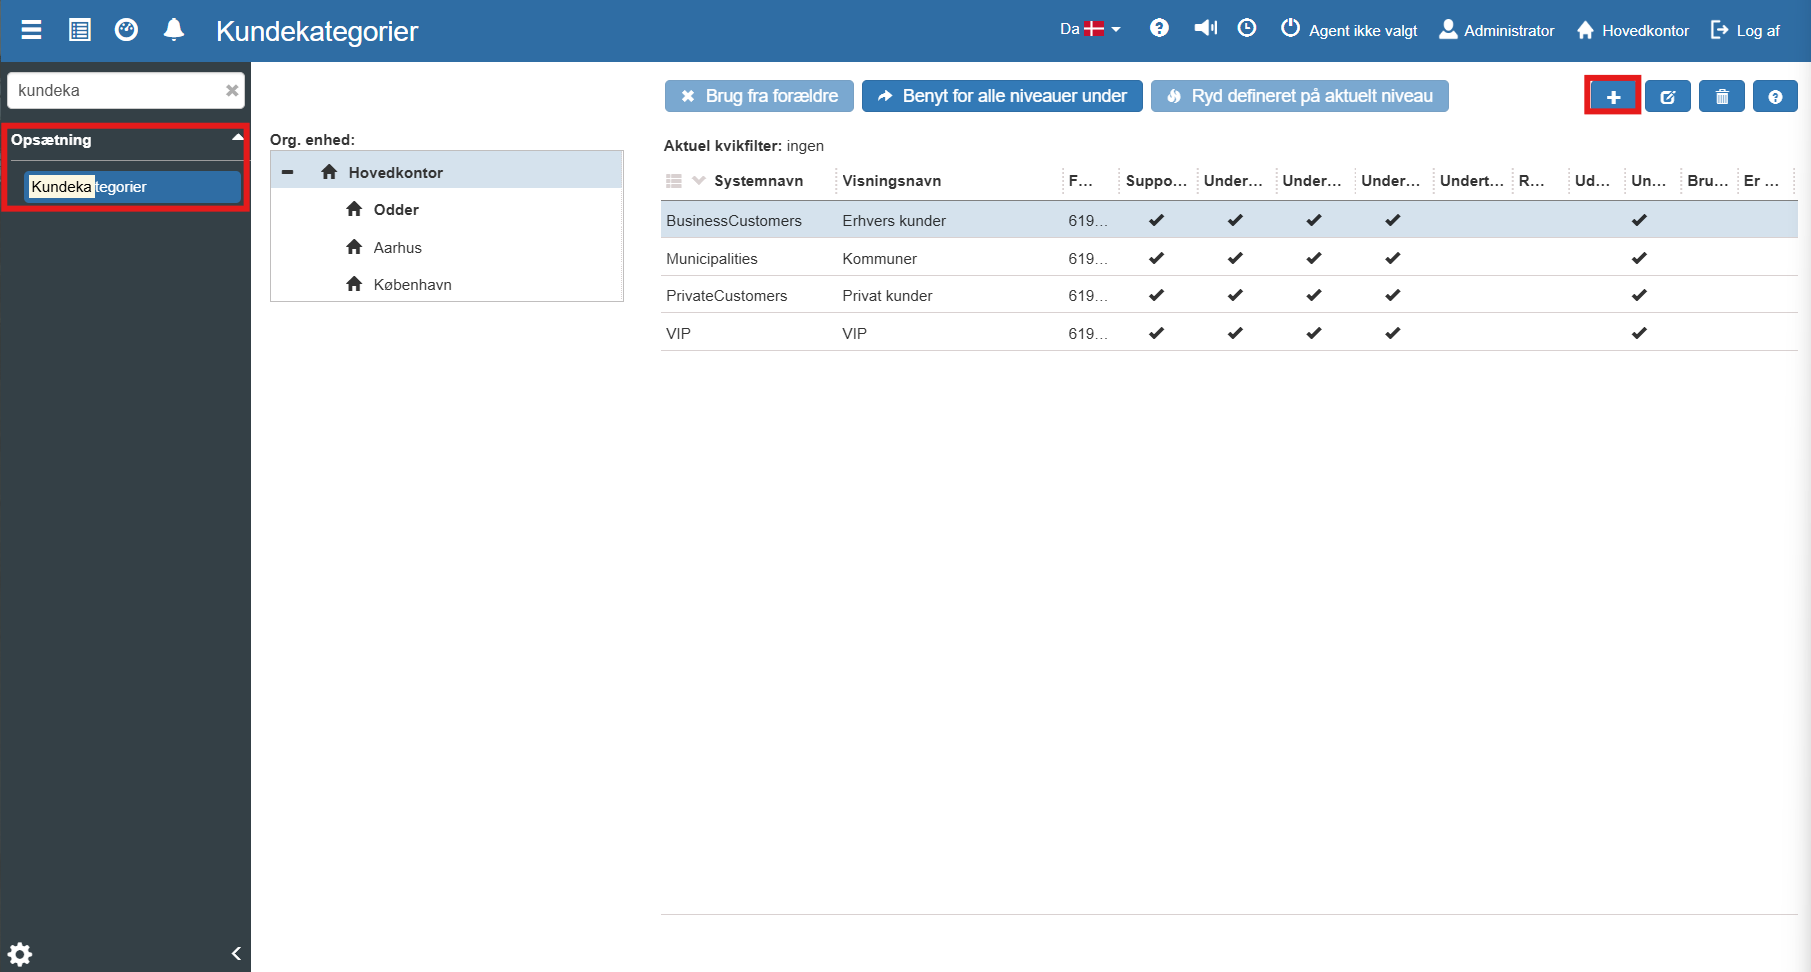
Follow these steps to add a new category to the system:
Open the main menu (Financial), expand Setup and select Customer categories.
Click the blue Create icon (+) in the top right corner of the overview.
A new window opens. Give the category a descriptive name (e.g. "B2B Customers", "VIP" or "Municipality") and define the default settings that should apply to the group.

Finish the creation by clicking Save and close.
When you create or edit a customer category, you have a wide range of options for tailoring the group's rule set. Here is a walkthrough of the fields:
Basic information and finance
System name & Display name: The internal system reference and the name that users actually see in the drop-down menus (e.g. "B2B Customers").
Finance account: The collective account in finance (e.g. "6190 Accounts receivable from sales and services") where transactions for these customers are posted.
Payment term: The default payment deadline that is automatically assigned to customers in this category.
Credit limit: The maximum amount that customers in the category may purchase on credit.
Currency: The default currency for the customer group (e.g. DKK or EUR).
Reminder run fee account & Interest rate: Here you specify which finance account any reminder fees should be posted to, as well as the applicable interest rate for late payment.
Default sales price type: Defines which price list applies by default for the customers.
Default org. unit: Specifies which department or store the customers are linked to by default.
Settings and permissions (Checkboxes) On the right side you find a range of settings that control the customers' options and requirements when creating orders:
Invoicing and shipping: Here you can enable or disable support for EAN invoicing, email invoicing and physical printing of invoices.
VAT and prices: Check "Without VAT" if the category (e.g. foreign customers) is VAT-exempt, or "Use cost price" if the sales price should be based directly on the item's cost price.
Mandatory fields: You can enforce that a customer reference, contact person or requisitioner always must be specified before a sale can be completed for customers in this category.
Reminders: Option to check "Suppress reminders", so customers in this category do not receive reminders when the payment deadline is exceeded.
Once your new customer category is created, it is ready for use. You can now select it in the drop-down menu Customer category, the next time you create a new customer, or when you edit master data on an existing customer in the customer register.
Want to know more?
Read more in these related articles:
Customer categories
In this guide we will walk through how to create customer categories in Sapera.
Customer categories
Create and edit customer categories (debtor categories) in Sapera. Customer categories gather common payment terms, finance accounts, credit limits and invoicing rules that are automatically inherited by customers in the category.
Accounting - Creating a customer category
This article explains how to create and configure customer categories in Sapera
