The same print dialogs are used for all printouts. However, the name and possible criteria differ. The dialog comes in 2 different versions. One is shown when the dialog is activated from the top menu "Printouts"
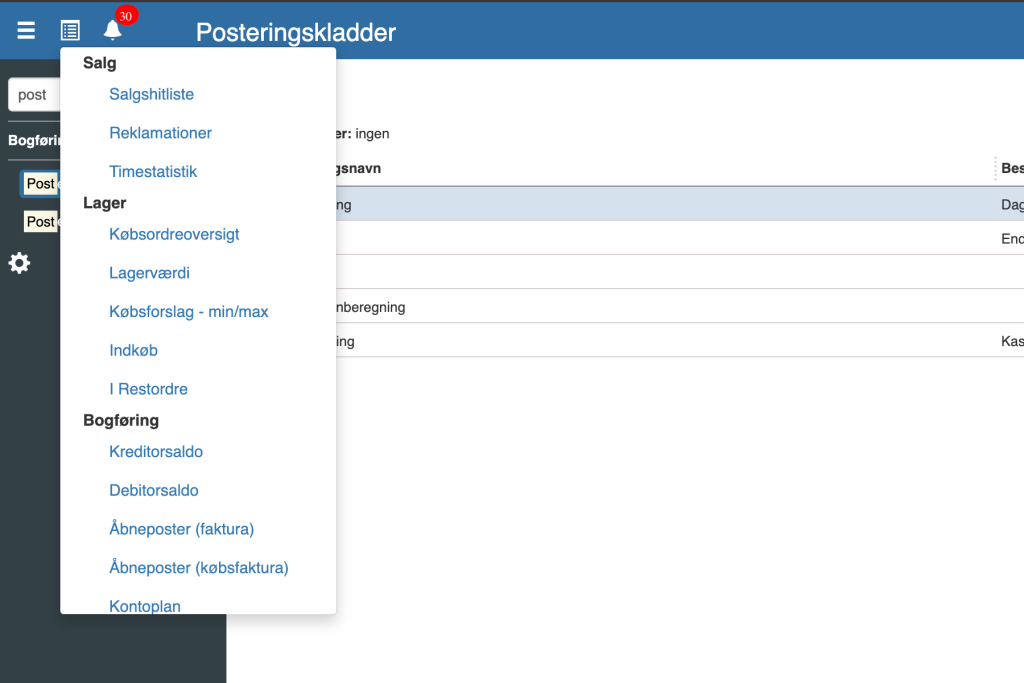
In this case I will select Sales hit list - this brings up the print dialog specifically for the Sales hit list:
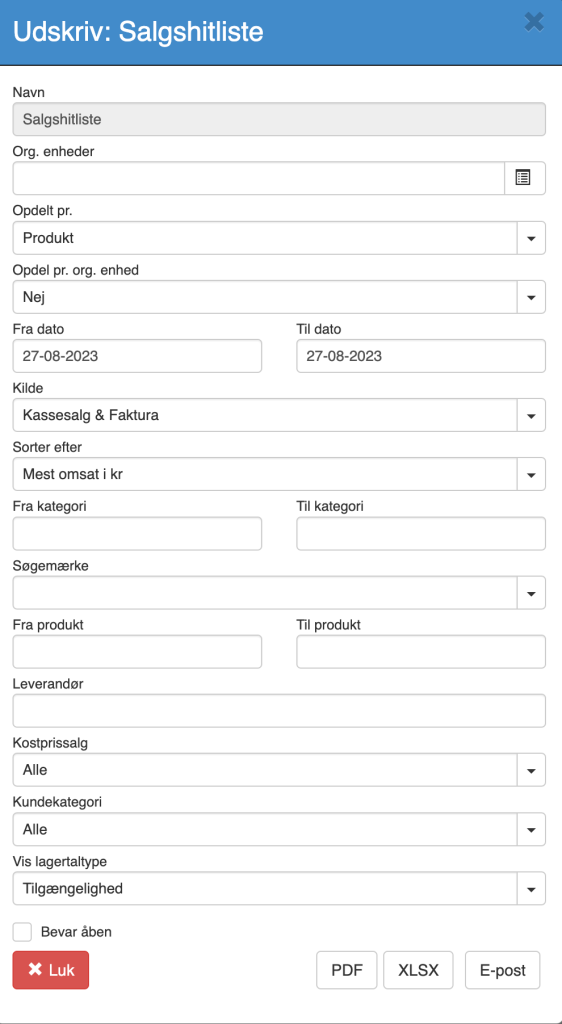
Alternatively, I can select it - not from the top menu - but from the relevant place in Sapera. The Sales hit list can also be found in Financial > Product > Products > Print
This opens the following print dialog.
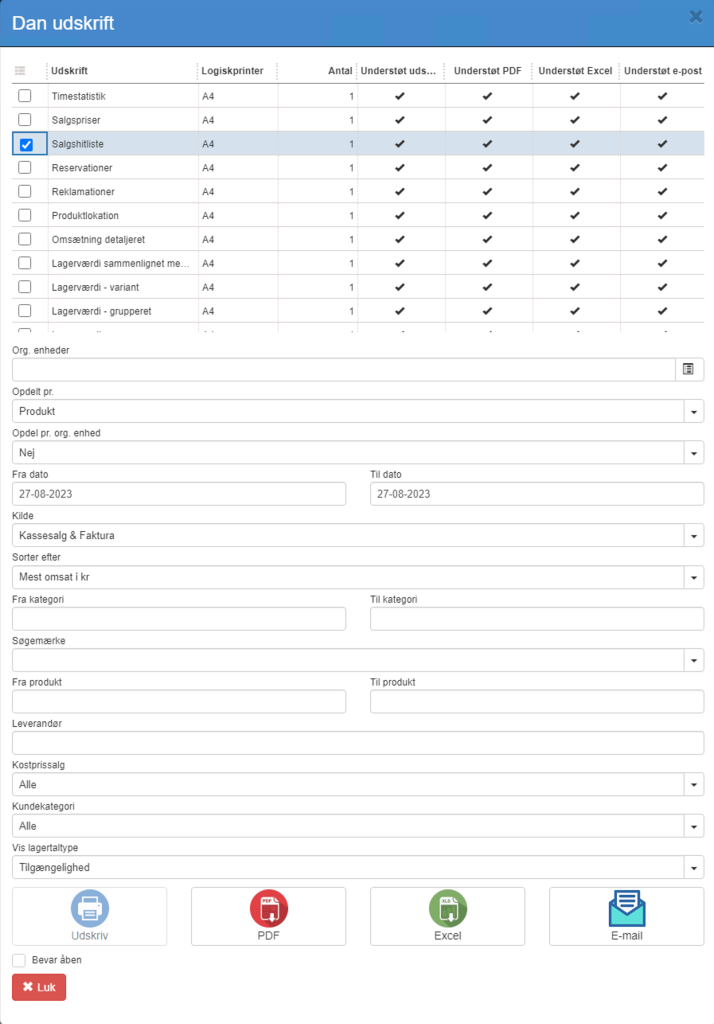
The difference between the 2 is that if the print dialog is selected from the top print menu, the printout itself is already chosen. E.g. Sales hit list. This dialog therefore does not include the option to select the printout. If the general print dialog is selected from any other place in Sapera, e.g. Financial > Product > Products > Print, a dialog appears where all relevant printouts for that location can be selected. In this case, all product-related printouts. Common to both print dialogs is that they show the criteria the printout exposes, and they allow you to print directly to a Printer (if you have an Agent installed), PDF, Excel or send by e-mail. The Keep open checkbox is used to keep the dialog open - even after the printout has been generated. This is useful if you need to generate the same printout several times, e.g. with different criteria. The example shown is the Sales hit list
Want to know more?
Read more in these related articles:
Customizing printouts - Sapera
Customizing printouts - Sapera
Reports (POS e-mails)
E-mail settings for the POS — sender address, sender name, subject and body templates, and blind copy (BCC) when sending receipts and invoices.
